Disclosure: This post may contain affiliate links, meaning I get commission if you decide to make a purchase through my links, at no cost to you. Please read my Affiliate Disclosure for more information.
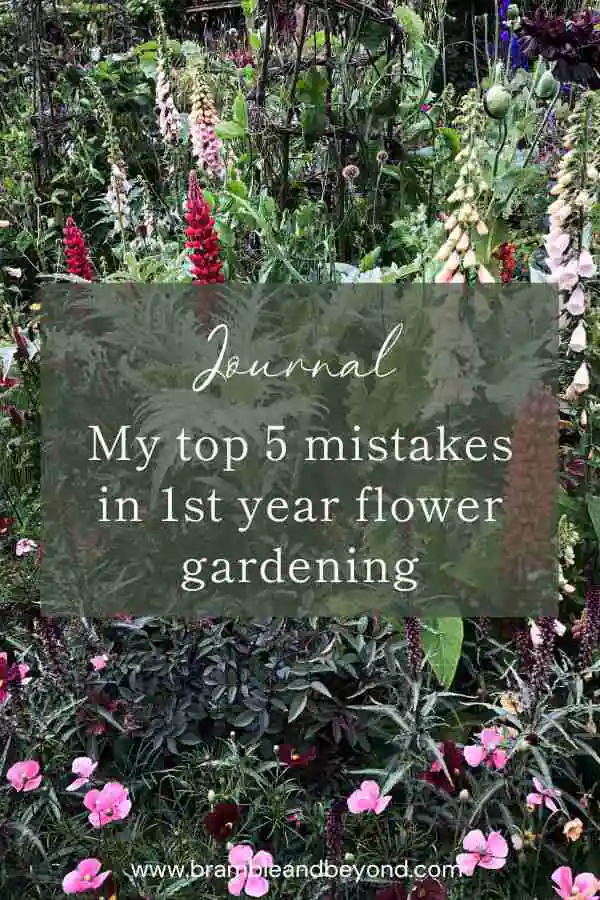
As a new cut flower grower, learning the ropes and making mistakes are inevitable. My first year as a cut flower grower was full of lessons to learn, which I’m sure many others starting out can relate to. Looking back on my journey, I can reflect on the five biggest mistakes I made during my first year and how I will change going forward into the next growing seasons.
Create a cohesive colour palette
Too much of anything can be overwhelming, and it can be especially true when it comes to growing cut flowers. As someone who has been through their fair share of mistakes in their first year as a cut flower grower, I’d like to say my biggest mistake was trying to grow EVERYTHING, rather than being a bit more selective with my seed and, more importantly, colour choices.
The reasoning for this is easy to pinpoint. I decided on two colour palettes. One pastel, the other brights. I figured this would give me lots of options.
I split the cutting patch into 50% for each colour palette, sharing the greens and foliage between both palettes. The result was that there wasn’t enough in flower from either palette at any one time to make as many cohesive bouquets as I had planned. This was because the two palettes were so different. Anything that was in flower from either palette clashed with the other.
After looking at other flower farmers, I noticed that they tended to follow a specific style or colour range. So whilst they covered a range of colours in their bouquets, whatever was in flower at any point in time worked well with the other.
This year I will consciously stick to a colour palette of softer, vintage colours (mainly muted pinks and peaches) and make sure they all work well together. Hopefully, this will mean I have something to work with, no matter what is in bloom.
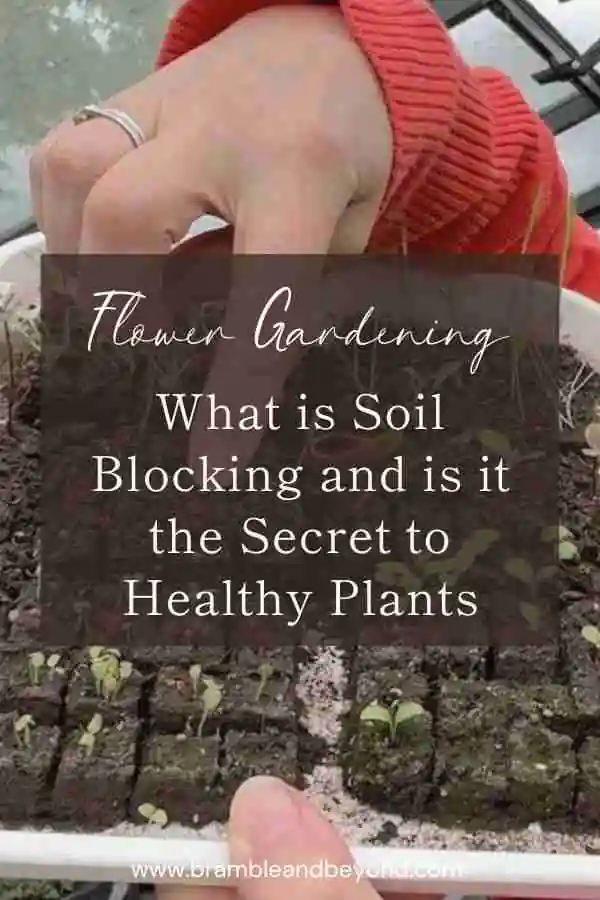
Don’t start your seeds too soon
As it was my first year growing cut flowers, I wanted to get up and running quickly, so my impatient streak kicked in. As a result, I started my seeds way too early. This resulted in one of two problems.
- There was insufficient light or warmth to germinate the seeds in my unheated greenhouse.
- They germinated well, but the seedlings grew too leggy before I could plant them out.
Having a lot of seeds on the go at any one time meant that I needed more space than I had to care for them adequately. The upshot was that I wasted a lot of seeds, either because they didn’t germinate or because I overwatered them due to their lengthy stay undercover.
I have learned that I need to be more patient with my seedlings. So this year I will hold back on sowing my seeds, possibly not starting in earnest until Easter. This, of course, is helped because I have some seedlings already on the go from my biennial sowings last summer and my hardy annual sowings last autumn. However, I have fewer of these than I had hoped (read on to find out why).
If you are ready to buy your seeds I have all of the easy cut flower seeds to grow in my shop. Shop Now
Use quality compost
Gardening can be a tricky business, especially for those just starting. One of the most important takeaways from my first year was the importance of using quality compost.
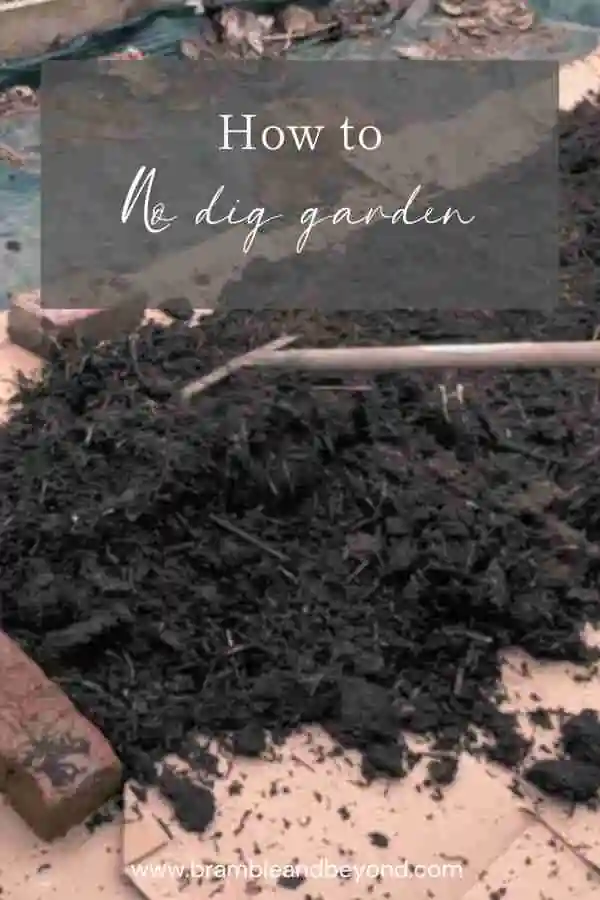
I started my cut flower beds using the no-dig method. First, I used copious amounts of cardboard to cover the ground, including the weeds. Then this was covered with even more copious amounts of compost. I did have quite a big compost heap that I had been half-heartedly cultivating for years, but I soon discovered I needed more.
To compensate for the shortfall, I bought a ton of compost online. This compost came from a community recycling centre here in the UK. As part of this composting process and meeting the regulations, the material reaches extremely high temperatures to kill off bacteria. This results in a compost that is lifeless. It was a fantastic mulch or weed suppressant because I couldn’t get anything to grow in it!
I lost track of the number of seeds I planted that came to nothing in beds covered in that compost, so all of my succession plantings went out the window.
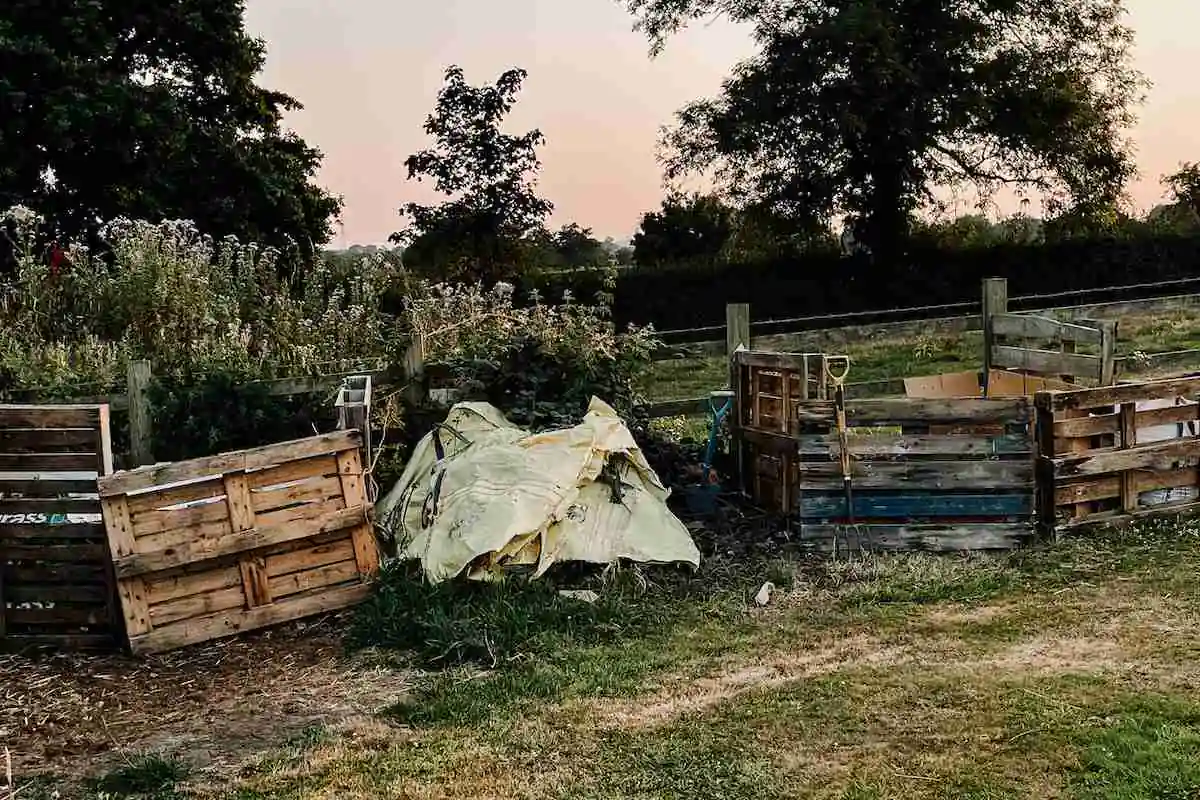
After about three months and using seedlings grown in the greenhouse, I started to see some growth. But even then, the plants were slow to take off.
Compost is an integral part of good soil management, as it provides essential nutrients for soil health and growth potential for plants. Unfortunately, low-quality compost will cause stunted flower growth and poor yields at harvest time, which I found to my cost.
Producing your own high-quality compost will ensure you get the most out of your garden’s potential!
Moving forward, I will take my compost pile more seriously as I know I will need lots of good quality compost. I don’t want to make any more expensive mistakes.
There are many types of compost bins available to you, they don’t need to be as unsightly as mine! Here are some on Amazon specifically for small gardens.
Provide your cut flower plants with good support
To get the most out of your cut flower patch, you must provide your plants with good support. I learnt this lesson after spending hours in the garden trying to stake my plants AFTER a heavy storm flattened everything. I then discovered that once this happened, the plants never really recovered; they always tended to want to lie down.
What little support I did provide comprised of bamboo canes and pea netting. Whilst this was relatively easy and cheap to set up, it was challenging to harvest through.
I also needed to provide more substantial support for the plants I knew would need help, such as sunflowers. These plants tended to lean to one side due to the weight of the stems and flowers. A simple bamboo cane and net structure is insufficient for all the heavy heads and thick stems!
On the other hand, I surrounded my Dahlia patch with bamboo canes and created a zig-zag of twine between the canes. This created a more robust and stable structure. The Dahlias grew easily threw the twine, and it was easy to get in and pick the flowers and weed around the plants. At the end of the season, the twine started snapping, but this was easily fixed.
In hindsight, it would’ve been better to put in a support structure across the whole of each bed and then, if the plant needed the support, it was already in place. My feeble attempt at staking with bamboo canes and plastic netting was difficult to work with and did not provide enough support when needed.
Moving forward, I will try more areas with the bamboo and twine structure and then individually stake the sunflowers.
Sow hardy annuals in autumn in good time
My first spring harvesting season started late as I had nothing in bloom until about June due to sowing all my seeds in the spring. This is normal in your first year as you must start at some point. So I was determined to get an earlier crop in my second year by autumn sowing some hardy annuals.
To get the most out of your harvest, it’s important to sow hardy annuals early in autumn. This will give them time to establish before winter arrives and increase their chances of survival during cold weather.
From what I had read, I could leave this until mid-September and still see results. Unfortunately, I made two mistakes:
- I lost track of time and left it until after mid-September
- and I didn’t think about the fact that I am in North Shropshire and not the sunny south coast.
In reality, I now know that if I leave it much past the first week in September, I will struggle to get the seeds to germinate and produce strong enough seedlings to be planted out. So this year, I will start them off in late August.
Learn from my mistakes
Whilst I readily admit that I made many mistakes in my first year growing flowers, the above errors caused me the most pain in both my effort and the flowers produced.
That said, I loved the results of what I did produce and am determined to continue getting better at growing cut flowers.
I will learn from my mistakes and come up with better solutions that will mean I save money and become more productive.
Learn more about how to start and grow a cut flower garden in this series of blog posts:
- The 9 Benefits of Starting a Cutting Garden
- How to Start a Cut Flower Garden – 7 easy steps
- What’s the Best Cutting Garden Layout: How Much Space Do You Need?
- The Tools You Need to Create a Cut Flower Garden
- Cutting Garden Plan: What Makes a Good Cut Flower Garden
- When to Start a Cut Flower Garden For Beginners
- How to Grow Flowers For Cutting: Flower Bed Maintenance
- Flower Bed Maintenance: A Guide To Watering
Find out how I got on in my second year for flower growing here.

