Disclosure: This post may contain affiliate links, meaning I get commission if you decide to make a purchase through my links, at no cost to you. Please read my Affiliate Disclosure for more information.
Welcome to the world of sustainable seasonal flower gardening for your wedding!
In this comprehensive guide, we will take you through the journey of growing and arranging your own wedding flowers.
When growing and arranging your wedding flowers, particularly in the week running up to the wedding, it’s essential to stay organised and follow your wedding flower timeline. Ensure you have all the necessary equipment, practice arranging your flowers, and focus on harvesting and conditioning them at the right time. By following these steps, you’ll create stunning floral arrangements that will add a special touch to your wedding day.
Planning your wedding flower timeline
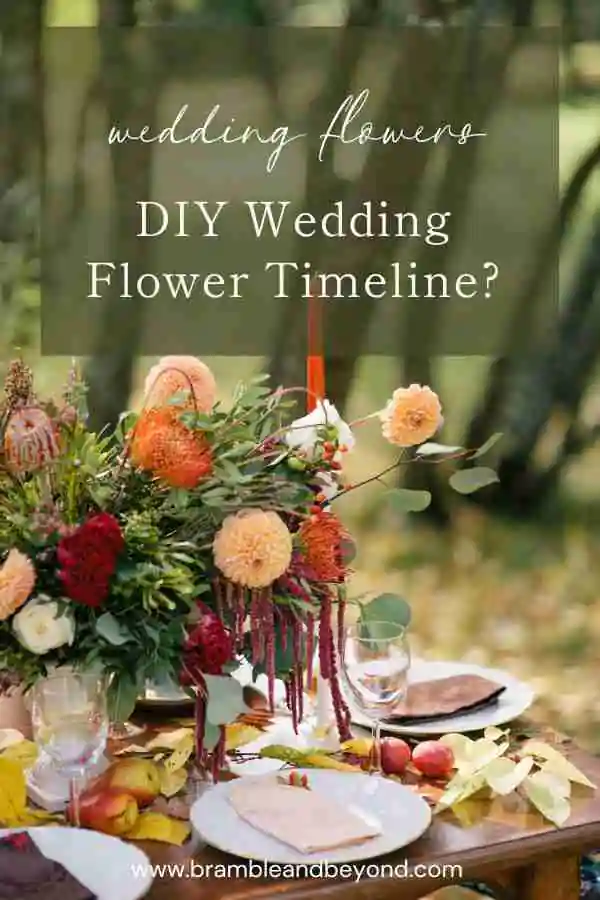
To ensure the success of your DIY wedding flower project, it’s essential to have a well-structured wedding flower timeline. Factors such as the seasonal availability of flowers, the growth and blooming periods of different flower varieties, and the time required for planting, nurturing, and harvesting should all be considered and may vary depending on your flower and design choices.
In previous posts I’ve covered the benefits and challenges, how cost effective it is, how to work out how many flowers you need, and how much space you need. So by now you should be all set to get going.
By setting realistic goals and expectations, you’ll be able to plan your wedding flower timeline effectively.
1-2 years before the wedding: Preparing your garden
Start your wedding flower journey by preparing your garden. This is your first step in your wedding flower timeline.
Choose the right location for your cut flower beds, select suitable flower varieties, and prepare the soil with proper nutrients.
3-12 months before the wedding: Sow your seeds
Depending on the season when your wedding takes place, you may need to start planting your flowers as early as 1 year before the wedding.
For a spring wedding, the choices of flowers grown from seed are limited as not much grows during the winter. However, you can plant bulbs in the previous autumn and enjoy a beautiful display of daffodils, tulips, hyacinths, or ranunculus for your arrangements.
Weddings in early June can be tricky for flowers as the spring bulbs are finishing and the spring-sown seeds haven’t bloomed yet. This is where you can consider using biennials or autumn-sown hardy annuals.
From late June onwards, you have more freedom to choose most flowers, and even the spring-sown seeds should start flowering, so your turnaround time is relatively short.
If you are short on space to grow all of your flowers then you can usually get a good choice of local seasonal flowers form a local flower farmer.
2-3 weeks before the wedding: Practice arranging
To make your floral arrangements absolutely perfect, it’s a great idea to practice cutting and arranging some flowers a couple of weeks before the wedding. This will help ensure that you have all the necessary equipment ready for the main event.
For practice, try getting similar flowers in terms of shape and size from your local supermarket (if you don’t want to/can’t use any of your precious grown flowers), which you’ll be using on the big day. This will give you a good idea of what needs to be done and which arrangements might be a bit challenging. It’s helpful to time yourself and take note of the number of stems for each type of flower you use. This will be incredibly useful when it comes to cutting your actual flowers and determining if you need additional assistance!
If you’re new to floristry, I highly recommend having a few practice sessions before your big day to avoid any last-minute panics.
Make sure to plan ahead and arrange a suitable space for your floristry work. For instance, you might find a helpful neighbour’s house or garage you could use if you don’t have the space yourself.

If possible, try not to arrange the flowers at the venue. It will only add more work for you, and you definitely don’t want to deal with cleaning up a mess on your special day. Additionally, you may not even have access to the venue until the wedding day itself, so it’s best not to leave things until the last minute.
I strongly recommend keeping all your floristry materials in one place that is cool, well-ventilated, and away from direct sunlight. Trust me, flowers won’t hold up well if you try to arrange them outside under the scorching sun during the day – I learned this the hard way during my own wedding!
You’ll need a spacious and clean surface for arranging the flowers, as well as a suitable space to store them once they are arranged.
Lastly, make sure you have thought about how your arrangements will be transported and plan the logistics accordingly. To transport the flowers to the venue, you’ll need some trays. Low-sided trays like old mushroom trays or baker’s trays work great. However, if you have taller arrangements, you might need boxes or crates with higher sides.
2-3 days before the wedding: Harvesting and conditioning your flowers
It’s time to harvest your flowers!
Consider the amount of time it will take to cut all the stems; it might take longer than you anticipate. For instance, if you have 600 stems to cut according to my number of stem calculator suggestion, it will take several hours for you and a few friends to cut and prepare them. Hopefully you have this timing already worked out in your wedding flower timeline.
I recommend cutting your foliage at least three days in advance. Afterwards, you can place them in clean buckets of fresh water until you are ready to use them.
The following day focus on cutting the filler and focal flowers. Pay attention to stem length and how open you want your flowers to be. While you are cutting, keep track of the number of stems so that you know you have enough for each of your arrangements. Then, mark them off your plan as you progress.
If you’re going to make the bride’s bouquet, as well as the bridesmaids’ posies and buttonholes, make sure you set aside the ingredients for those and label them clearly. This way, no one can accidentally grab them to make posies for the portable toilets.
Leave all flowers and foliage to condition in tall, clean buckets of fresh water until you’re ready to arrange them.
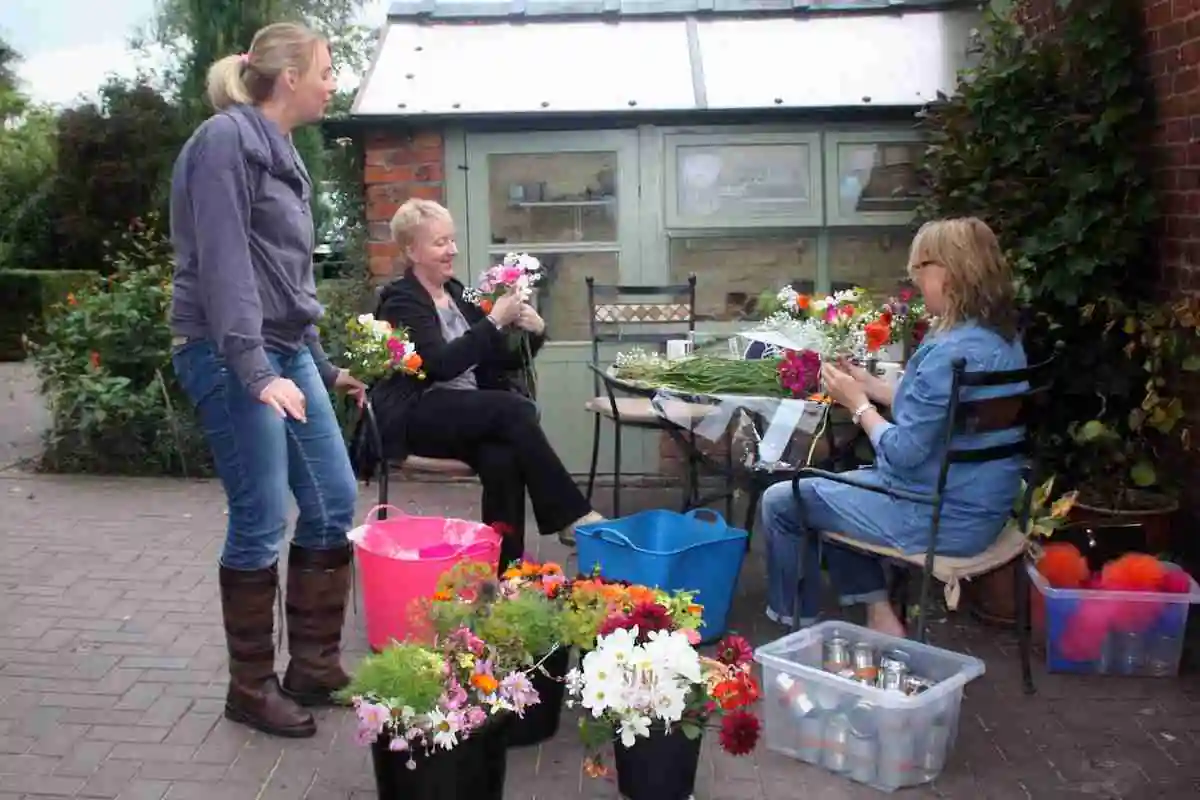
1-2 days before the wedding: Make your arrangements
The exciting moment has finally arrived to bring your beautiful vision to life. Let your creativity shine as you create stunning floral arrangements that perfectly reflect your desired style and aesthetic.
Today is going to be a long day, so make sure to give yourself plenty of time!
Start your flower arranging journey in the morning.
Begin with the ceremony flowers, then move on to the reception flowers. Finally, focus on the buttonholes, followed by the bride’s and bridesmaids’ bouquets. I suggest leaving the bride’s bouquet for last, as you’ll become more skilled and confident as the day goes on, ensuring that it turns out just right.
Once you’re finished, store the arrangements in a cool and dark place to preserve their freshness and beauty. Take a moment to step back and admire your incredible work.
You’ve done an amazing job and saved yourself a fortune. Now, go ahead and treat yourself to a well-deserved glass of wine and some relaxation before your big day!
0-1 day before the wedding: Transport to the venue
Transport your carefully crafted arrangements to the wedding venue, making sure they are secure and protected during the journey.
If possible, try to install the flowers at the venue the day before the wedding, but only if the venue is cool enough. Remember, a hot tent overnight won’t be good for the flowers. If your ceremony or reception is in a marquee, keep the flowers somewhere cool the night before and install them on the wedding morning.
If the weather’s hot, then the flowers might do well to have a fresh drink of water on the morning of the wedding: not only will this keep them fresher, but in hot weather, flower water can go yellow, which isn’t as attractive in glass as perfectly clear, clean water.
Congratulations on successfully growing and arranging your own wedding flowers and staying in line with your wedding flower timeline!
Embrace the journey you’ve taken to create your own blooms, as it adds a personal touch to your wedding day. Remember, sustainable seasonal flower gardening not only allows you to express your creativity but also contributes to a more environmentally friendly celebration. As Ralph Waldo Emerson once said, “The Earth laughs in flowers.” May your wedding be filled with laughter, beauty, and the love that blooms forever.

