Disclosure: This post may contain affiliate links, meaning I get commission if you decide to make a purchase through my links, at no cost to you. Please read my Affiliate Disclosure for more information.
Do you dream of having a beautiful garden but hate the idea of digging through heavy soil? Well, I have some great news for you – the no dig gardening method allows you to grow a productive flower garden without any strenuous digging. Not only is this approach a time-saver, but it also helps improve the health of your soil and attracts beneficial organisms.
In this video, I’ll walk you through how I started a small cutting patch using the no dig method. By the end, you’ll have all the knowledge you need to effortlessly create your own flourishing cut-flower garden. So let’s dive in and get started and I’ll show you how to no dig garden!
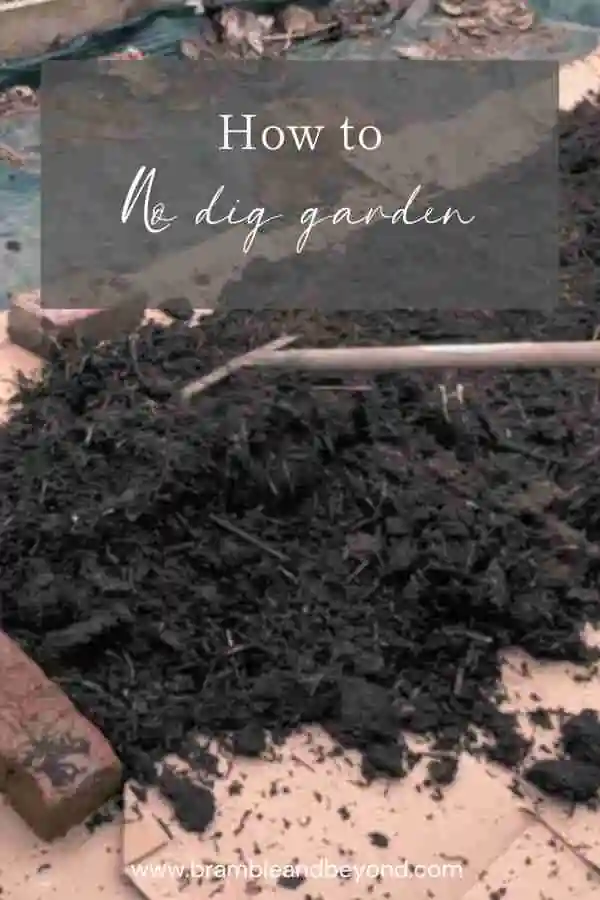
How to no dig garden
The benefits of no dig gardening
No dig gardening is a fantastic practice with numerous benefits that are worth exploring. And if you’re new to this method, get ready to be delighted! Not only does it save you from the back-breaking task of digging, but it also offers several advantages that make it stand out from traditional gardening methods. In this post, I’ve delved into the surprising benefits of no dig gardening in more detail.
If you’re pressed for time, let me highlight a few key points: no dig gardening conserves water, protects soil structure, and prevents soil erosion. But that’s not all! It also promotes soil health, reduces weed growth, and attracts beneficial organisms that naturally ward off diseases and pests.
With this method, you preserve the natural habitat of your garden by layering organic material on top. Over time, it composts and breaks down, resulting in nutrient-rich, crumbly soil that nourishes your plants. By adopting this practice, you make your garden more sustainable and eco-friendly.
And the best part? You don’t need to be an experienced gardener to start no dig gardening. Just follow a few simple steps, and you’ll be rewarded with a flourishing garden and a bountiful harvest.
Tools you’ll need for a no dig garden
To start a successful no dig garden, you don’t need a lot of tools, but there are a few essentials that will make the process easier.
Firstly, your need enough cardboard to cover the whole area. This should be plain brown cardboard, as thick as you can find, with all the plastic sticky tape removed. The cardboard will block out light and help suppress any perennial weeds that may grow or prevent any existing weed seeds from germinating.
Don’t be tempted to use shiny printed cardboard as the coating tends to be plasticised and does not compost down easily. It may also have harmful ingredients in it.
Secondly, you’ll need a good quality compost or organic material to layer on top of your soil. This organic matter will become the foundation of your new bed and is usually compost, ideally from your own compost heap.
A garden fork is also helpful in levelling the topsoil and moving the compost onto the area. Additionally, a rake can be useful for shaping the garden bed and spreading the compost evenly.
If you’re starting a more extensive no dig garden, a wheelbarrow or garden cart can help move your organic material from its storage place to the garden bed.
Overall, the tools and ingredients you’ll need for a no dig garden are minimal. The focus is on building up the layers of organic material instead of digging them into the soil. With just a few basic steps, you can create a thriving garden that will provide you with an abundance of flowers year after year.
What makes a good compost
The compost layer in your no dig garden is the most essential ingredient for the new bed. This is the layer you will plant your seedlings or plants into. Therefore, the compost needs to be a material where the plants will thrive.
Because of the quantity of compost you are likely to need, using bags of potting or multi-purpose compost would be OK, but it is likely to be very expensive. As a result, it is more cost-effective to make your own compost or buy it in bulk.
Any green compost (those made from recycling garden waste at high temperatures in a composting facility) or manures (horse or cow) should ideally be left to ‘mature’ for about 6 months before use.
In the case of manures, this is because they could contain high nitrogen levels in the form of ammonia, which can harm your plants.
In the case of green compost, the compost will be devoid of any microorganism activity as these are killed off as part of the composting process. It will take several months for the microorganisms and fungi to grow back. This green compost is great for a mulch, but nothing will grow in it unless it has been left for a good while (believe me, this is a lesson I have learned from experience!).
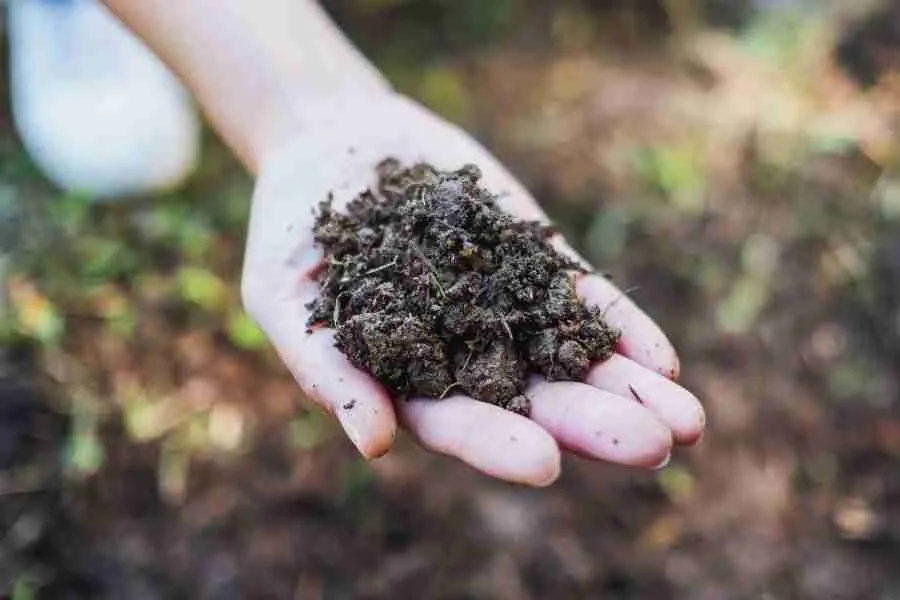
If you are making your own compost, usable compost will take about 6-9 months to decompose enough, if managed correctly. The compost will be ready when it is dark and crumbly with a woody smell. If there are still worms present, then it is a sign that there is still some decomposition to happen, but it is still usable as long as there are no big chunks of wood, etc.
Starting your no dig garden bed
Begin by selecting the spot where you want to plant your garden. Then, clear away debris and cut back perennial weeds, such as nettles or brambles, to just below the surface.
If the surface is not level, try to level it as much as possible, as having huge dips and bumps will make it difficult to lay the cardboard flat and will create a mixture of deep and shallow pockets of compost, which is not ideal.
You do not need to weed or remove any turf, as any existing material will die once the light is blocked off. This will all eventually add to the compost layer you are building up.
Block out the light
Once the surface of your area is as flat as possible, the next step is to block out the light with a compostable material that will prevent light from getting to the ground below.
In warm and dry climates, a thick layer of straw may be all you need, with no additional cardboard or compost. This will eventually compost down, and you just add more straw as and when you need it.
However, straw does not work well in the UK, which is a damp climate. Or, to be more precise, it does prevent the weeds from growing, but it also creates a lovely home for slugs and snails, and they will munch through any new seedlings before you even turn your back. Again, I learned this the hard way!
Depending on the size of your new bed, you will need to source a lot of cardboard. However, I have found that supermarkets are always happy to offload their surplus cardboard. I’ve even had them fill a trolley of cardboard for me while I did my shopping!
Whatever material you are using, make sure there are no gaps for the light to trickle into. If you are using cardboard, overlap each piece by about an inch.
If you are creating your new bed directly on the ground (not in a raised bed), I recommend creating a boundary of cardboard around the bed. This should be larger than the bed to help prevent grass or weeds from growing in from the sides. This boundary can be as big as you want and will depend on the surrounding area. So if you have grass or somewhere with a lot of weed growth, make the border on the larger side than if your bed is against a path.
Finally, once your cardboard is in place, you should moisten this layer before adding the compost layer. This will help to kickstart the decomposition process. But, again, if you are creating your bed in the UK at any time other than high summer, this step will be optional.
Cover with organic material
After creating your blackout cardboard layer, now is the time to add the compost layer. This is the layer you will plant your seedlings into. Therefore, the compost needs to be a material in which the plants will grow well.
It is best to only use compost that is ready to be used (see above). This means you can plant into it straight away if you want.
Create a compost layer 10-15cm deep on top of the cardboard. Rake over the top to create a good even surface with a fine tilth.
Once this is done, you are good to plant your seedlings.
The video above shows me creating a small 3m x 1m cutting patch that I plan to be productive for the whole of the coming flower season.
Garden maintenance
As you maintain your garden throughout the season, watch for any weeds or pests that may try to take hold. Pull out any signs of perennial weeds; over time, these will eventually weaken and stop altogether.
The only additional maintenance required is adding a further layer of compost each year. This is a top-up layer, so it only needs to be about 5cm deep to maintain the health of the bed.
By following these simple steps, you’ll be able to maintain your beautiful no dig garden and enjoy its benefits for years to come.
A no dig garden can be a sustainable and enjoyable gardening experience by eliminating the need for back-breaking labour and promoting soil health. Armed with the right tools and key ingredients, anyone can build a thriving no dig garden bed. if you want more detailed information I found books by Charles Dowding particularly useful.
So, give it a try and enjoy the many benefits of no till gardening. Your body and your garden will thank you!

