Disclosure: This post may contain affiliate links, meaning I get commission if you decide to make a purchase through my links, at no cost to you. Please read my Affiliate Disclosure for more information.
Dahlias are a flower gardener’s dream. Not only are they stunning and available in a wide range of colours, shapes, and sizes, but they’re also really easy to grow. In this blog post, I will walk you through all the essentials of how to grow dahlias from a tuber. Let’s get gardening!
If you prefer to watch how to grow dahlias rather than reading a post, here is a video I recorded on growing dahlias.
Why Choose Dahlias for Your Garden?
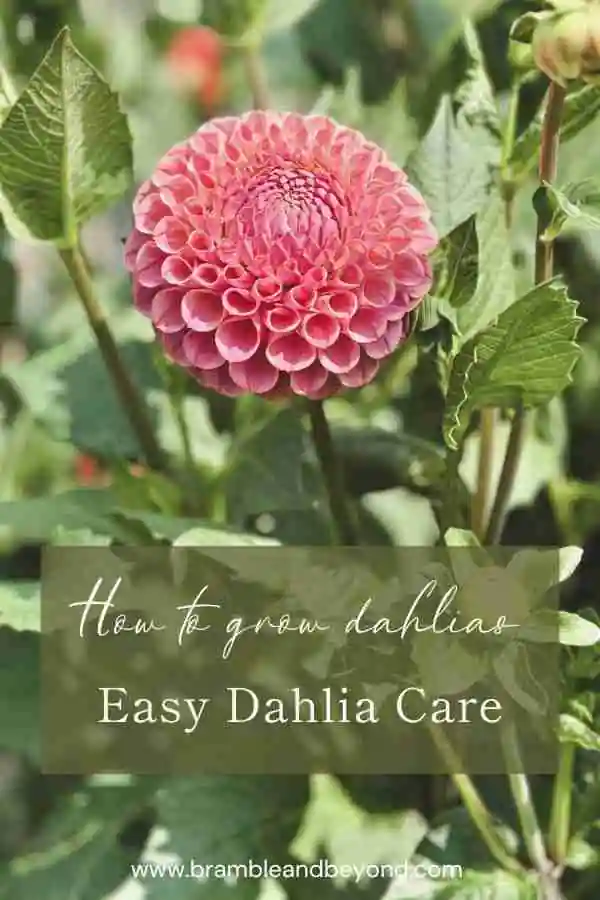
Dahlias! Who can resist their stunning beauty and impressive variety? From the show-stopping dinner plate dahlias with their gigantic blooms to the adorable pom-pom varieties that would look right at home on your favourite winter hat, there’s a dahlia out there for every flower enthusiast.
But the fun doesn’t stop at their looks! Dahlias not only offer a smorgasbord of styles to choose from, but they also have a long flowering period. They’ll start to bloom in August and won’t stop until the first frost hits, making them the perfect choice for a cut flower garden.
Dahlias, though they may not be a florist’s first choice due to their vase life of about 5 to 7 days, are a joy to have in your own garden! With their prolific blooming, you’ll have no problem snipping a large fresh bunch every week to brighten up your home, making their vase life a minor detail in the grand scheme of things.
Are dahlias perennials?
The allure of dahlias goes beyond their stunning beauty. They make an excellent choice for a sustainable garden as they are perennials, meaning they continue to bloom year after year. This not only saves you money but also helps the environment by reducing the need for buying new plants or seeds each year.
Just a little heads-up, though. Dahlias are not hardy perennials. They do need some protection over the winter to ensure they return to you year after year.
Types of Dahlia
I’m delighted to say that dahlias are making a massive return to favour after being in the doldrums since the 70s. And rightly so they have so much to offer. So, let’s explore the tantalising array of shapes and styles you can choose from:
- Dinner plate varieties boast enormous flower heads, some stretching up to 30cm in diameter! Imagine those in your garden!
- Pom-poms are cute, round, and, well, they look just like a pom-pom (no surprise there!).
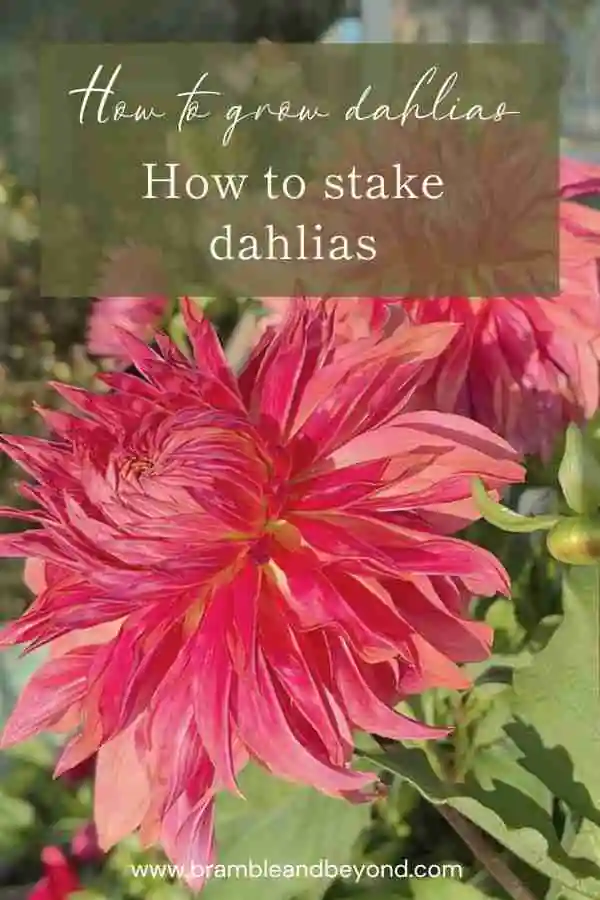
- Cactus dahlias add a bit of edge with their spikey petals.
- Anemone types have a flower that’s a bit more daisy-like, perfect for a touch of whimsy.
- Collarettes are similar to anemones, but with a twist. The centre petals are surrounded by a wreath of shorter petals, often in a contrasting colour, forming a charming “collar.”
- And if you can’t find your favourite among these, there’s always the decorative category, the catch-all for everything else!
The best part is that each of these styles is available in a wide range of colours. Simply choose your style, and you’ll find a dahlia in any colour your heart desires.
What is a Dahlia tuber?
A Dahlia tuber is the underground part of the dahlia plant, similar to a bulb, that stores energy and nutrients for the plant to grow. if you buy a dahlia they will be sent to you as a tuber.
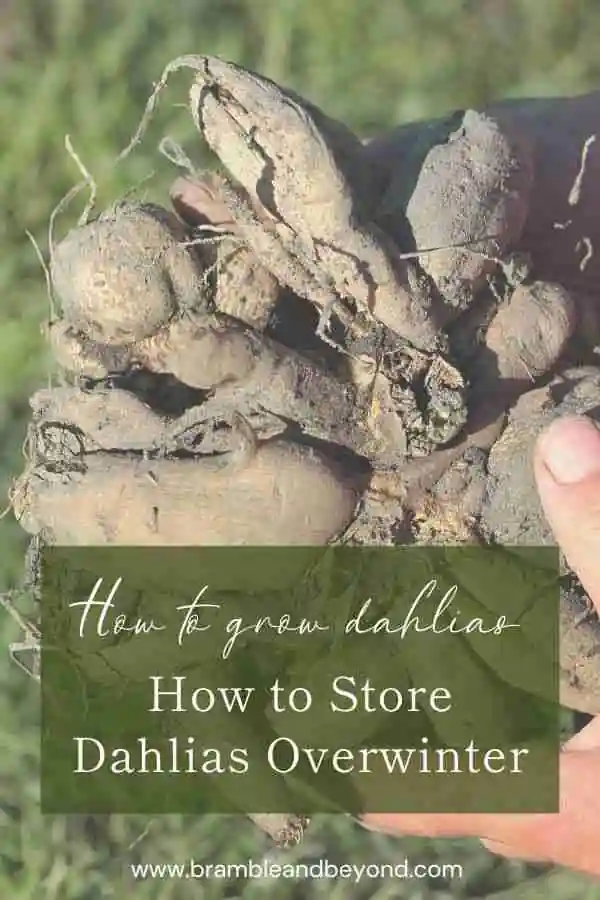
The tuber generally looks like a misshapen potato. The bigger the dahlia gets the more potato like growths it produces. Different varieties of dahlias grow different shaped tubers, so don’t be put off by thin straggly tubers, it could be the norm for that variety.
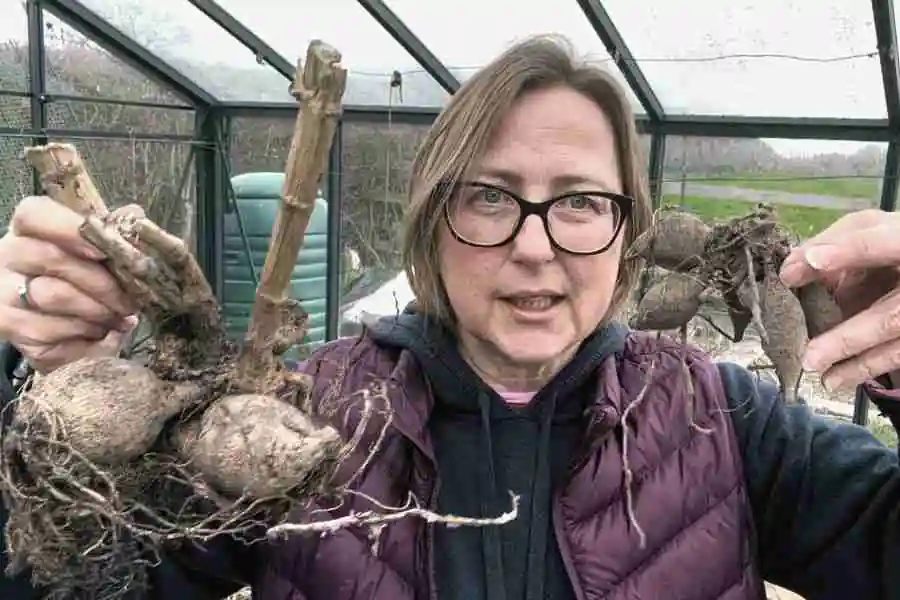
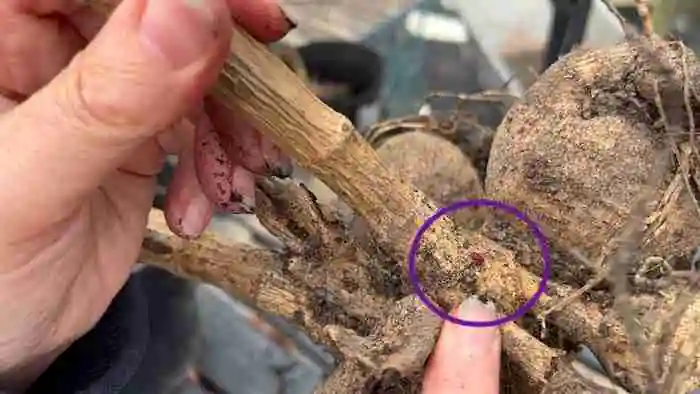
It is possible to grow a dahlia from a single ‘potato’ tuber, as long it has a neck with eyes on it, as shown in the picture below.
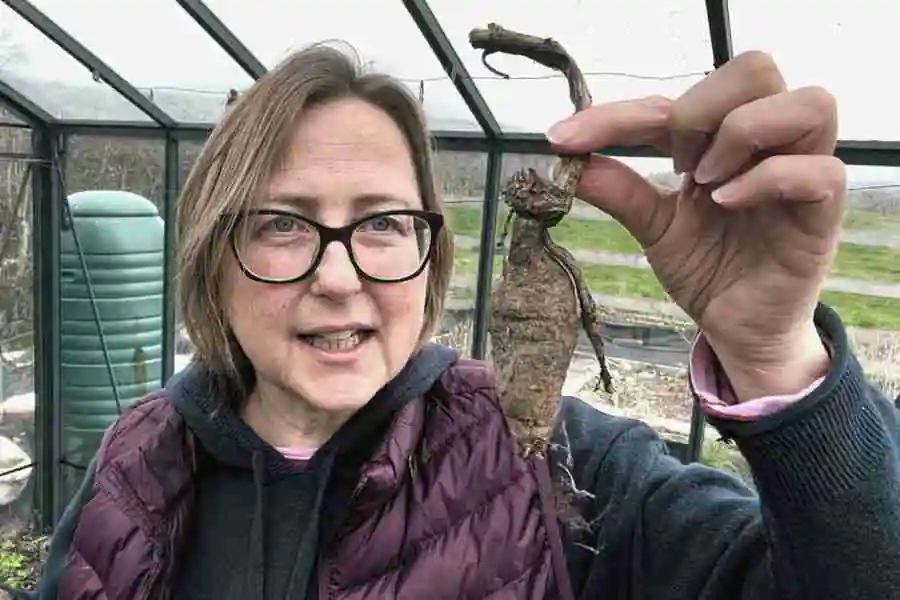
The eye is where the dahlia stem grows from. If the tuber has no eyes, no matter how big the tuber, it will not grow. The more eyes, the more stems that are produced.
Understanding the basics: How to grow dahlias
Now that you understand why dahlias are a great choice for your garden, let’s dive into the exciting part – how to grow dahlias from tubers.
Choosing the right location
The first step in growing dahlias is selecting the right location. Dahlias love sun, so choose a spot in your garden that gets at least six hours of sunlight each day. They also prefer well-drained soil that is rich in nutrients, so avoid areas where water tends to puddle.
You may want to test your soil’s pH level to ensure it is between 6.5 and 7.0, which is ideal for dahlias.
That said, they are not overly fussy about the soil type and can be grown in clay soil, which is what I have to contend with. The problems only arise over winter. If you have heavy clay soil, you must lift them out of the ground over winter and protect them inside. This is because they don’t like to be cold AND wet.
If you have well-drained soil, keeping them in the ground over winter is possible, as long as you give them some frost protection with a good thick mulch covering them.
Selecting your tubers
Next, you’ll need to choose your dahlia tubers. When selecting tubers, look for ones that are firm and healthy, with no signs of damage or disease.
When you overwinter your dahlias, you may find some of them come out of their hibernation a bit mouldy and rotten. Although, hopefully not if you’ve stored them correctly.
Lightly squeeze each tuber. If they are squishy, then cut off this material and dispose of it.
Often you will find bits of the tuber breaking off from the main stem. This is fine as long as there is an eye on the remaining piece. If there is an eye, then you now have two tubers for the price of one, as both individual tubers will grow into separate plants.
Early in the season, the eyes can be a bit elusive and hard to spot. So if you are still unsure if the tuber will grow, leave it for a bit longer until an eye appears.
If there is an eye on the tuber, it will eventually start sprouting stems just like a potato. The tuber doesn’t need to be in compost to do this, although you may prefer to pot them up to give them better frost protection.
Labelling
The tricky game of “Guess the Dahlia” is a familiar one for me. You see, when dahlias are just tubers, it’s a bit of a puzzle to tell them apart – they all look so alike. I’ve learned that a belt and braces approach to labelling keeps the guessing games at bay – although this isn’t fool proof, or maybe it’s just me!
You can label the tuber by actually writing on it with a marker pen. I also write the name on a label that is supposed to follow the tuber wherever I put it. Once the tubers are in pots, keeping the label with a pot is easier. Then when you plant it out, try to ensure the label sticks with the plant.
The final thing I do once I’ve planted them out into their final positions, and while it’s still fresh in my memory, I draw a plan of what tubers are where so that, hopefully, nothing gets lost.
Obviously, once they’re flowering, it’s pretty obvious what they are. But until then, if they have lost their label, they can be anything.
The critical point of labelling is when it comes to storage, because I can guarantee every time I store them over winter, I end up with a basket of tubers that I have no idea what they are. But I guess that is all part of the fun of dahlia growing, isn’t it?
Potting Up
Dahlias are tender plants, so a light frost in early spring can see the end of your dahlias. So this means it is common practice, if your dahlias haven’t been overwintered in the ground, to plant them in pots before planting them outside.
Planting dahlias in pots and keeping them inside has three main benefits:
- You can start them earlier, so your plants get a head start on growing while you protect them inside from frost.
- The early start means you can propagate your dahlias by taking cuttings.
- You can also protect them from nasties, such as slugs and snails, who are rather partial to new growth on dahlias.
When potting up dahlias, look for the eyes on the tubers. These are small bumps that will eventually sprout, as shown above. If there are no eyes, the tuber will not grow. However, be careful to give the tuber enough time to produce the eyes as they are often tricky to spot during winter. The eyes become more visible as you get further into spring, and the tubers start to grow without any help from you.
Place your tubers in a pot filled with compost. They don’t need much soil, nor do they need much water to get them started. In fact, too much water at this early stage can actually cause them to rot. So I just give them a quick water once planted in the pots and don’t water them again until I see some signs of growth.
If you want to take cuttings, keep the eyes above the soil level, as this makes it easier to take the cuttings. But it doesn’t matter how deep you plant the tuber if you are not taking cuttings.
Once potted up I keep them in an unheated greenhouse until it is warm enough to plant them outside. They just need to be protected from frost, but don’t really need any additional heat to get them started.
I usually pot up my dahlias in March, generally on the spring equinox. This means they are not taking up too much space in pots for too long, but still gives me a chance to take cuttings that produce flowers in the same season.
Troubleshooting Common Dahlia Growing Issues
Despite your best efforts, you may encounter some issues when growing dahlias. Here are some common problems and their solutions:
- Over-watering: The worst thing you can do at this point is over-water them. Water them generously initially and let the soil dry out between waterings to prevent the tubers from rotting.
- Frost protection: They still need to be frost protected, so keep them inside, and even then, cover them in a fleece if it’s going to get a bit chilly outside.
- Pests: The young sprouts are particularly tasty to slugs and snails, so to avoid them being completely demolished by them, take all the necessary slug and snail precautions. This year I am trialling wool pellets, as I hear that slugs don’t like to travel across the wool fibre. I shall let you know how I get on.
- Disease: Dahlias can be prone to fungal diseases. Keep an eye out for any strange looking growths or leaf discolouration once they start sprouting. If you have any suspect tubers, then isolate them from all of the other dahlias until you are certain one way or the other.
If you are interested in finding out how you can easily create more dahlia plants for free from your existing plants, take a look at this post.
Hopefully, I have shown that growing dahlias is not so difficult, and they are certainly worth the effort! So, give it a try and see how rewarding it can be!
Tips for growing your dahlias
- Divide your dahlias: To produce good sized productive dahlia plants, it is a good idea to divide the tuber every few years. If the tuber is too large, then you get increasing amount of foliage and poorer quality blooms.
- Starting your dahlias: From March onwards you can start your dahlias tubers growing in pots in a protected growing space. The space doesn’t need to be heated, but it does need to have light and be protected from frost.
- Propagate your dahlias: Once your potted up dahlias start producing more than 5 new shoots you can take cuttings of any of the extra cuttings, to create new plants that will flower and create a tuber within this growing season.
- Pinch out shoots: Once you have stems that have a few sets of leaves, then pinch out the growing tip. This will encourage the plant to produce more lateral growth and flowering stems.
- Planting: When planting your dahlias, plant out the plants deep enough to cover the tuber. Place the tubers about 15cm (6 inches) deep. Space the tubers/plants about 40cm – 70cm apart. Only plant out once the risk of frost has passed. In the UK this is generally mid May.
- Watering: After planting, water them in well. After the initial watering, I prefer to water all my plants (if I need to water) with a long deep drink, rather than a light consistent watering. I think this encourages the plants to go in search of their own water, making them more drought tolerant.
- Provide support: Dahlias, especially tall varieties, will need staking or other support to prevent them from toppling over under the weight of their blooms. It is best to get this in place before you need it, rather than waiting until it is too late.
- Protect from pests: Avoid chemical pesticides in your dahlia bed. Instead, encourage beneficial insects, try companion planting, use physical barriers, or try homemade, eco-friendly sprays.
- Protect from frost: In the autumn, after the first frost, either cut back your dahlias and mulch heavily to protect the tubers over the winter. Or lift them and store them somewhere cool and dry overwinter.

